
Appearance
Updating Options
Keep your team details up to date in Options.
Admin access required
Only users with an Admin role can access Settings > Options.
Open options
- Go to Settings.
- Click Options.
- Choose the tab you want to update.
- Click Save settings.
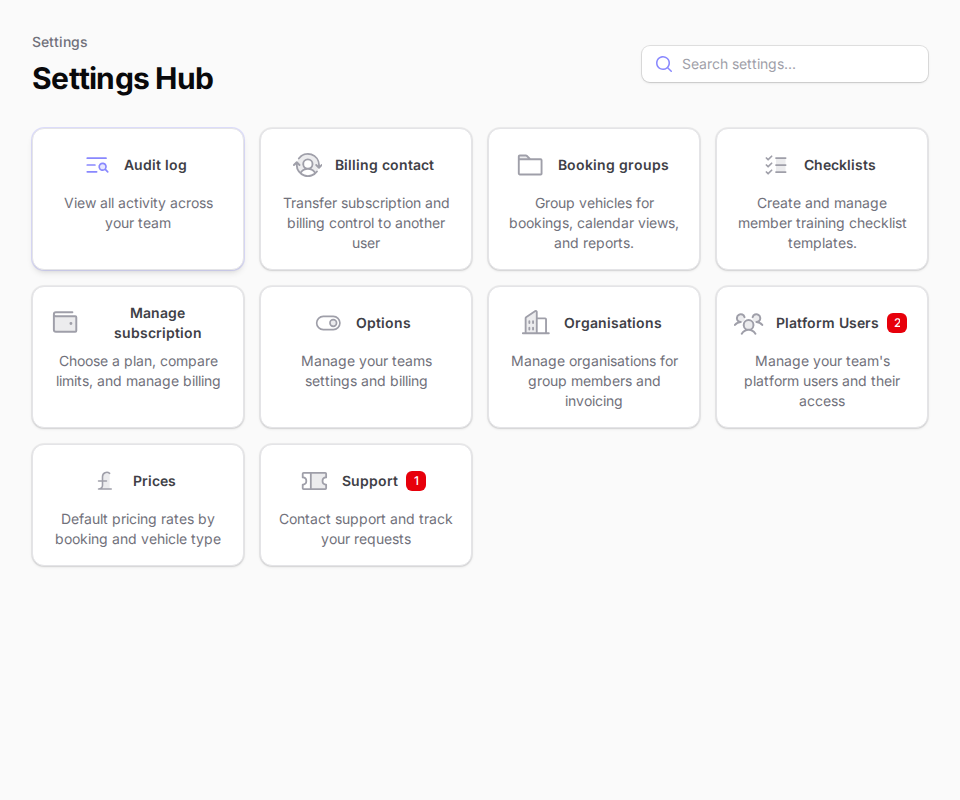 An example of opening Options from the Settings menu.
Update team details
Use this tab to keep your team name, logo, and billing email current.
- Open the Team tab.
- In Team name, enter the name you want to show.
- In The email address used for your billing, enter your billing email.
- In The logo is used in invoices and emails., upload or replace your logo.
- Click Save settings.
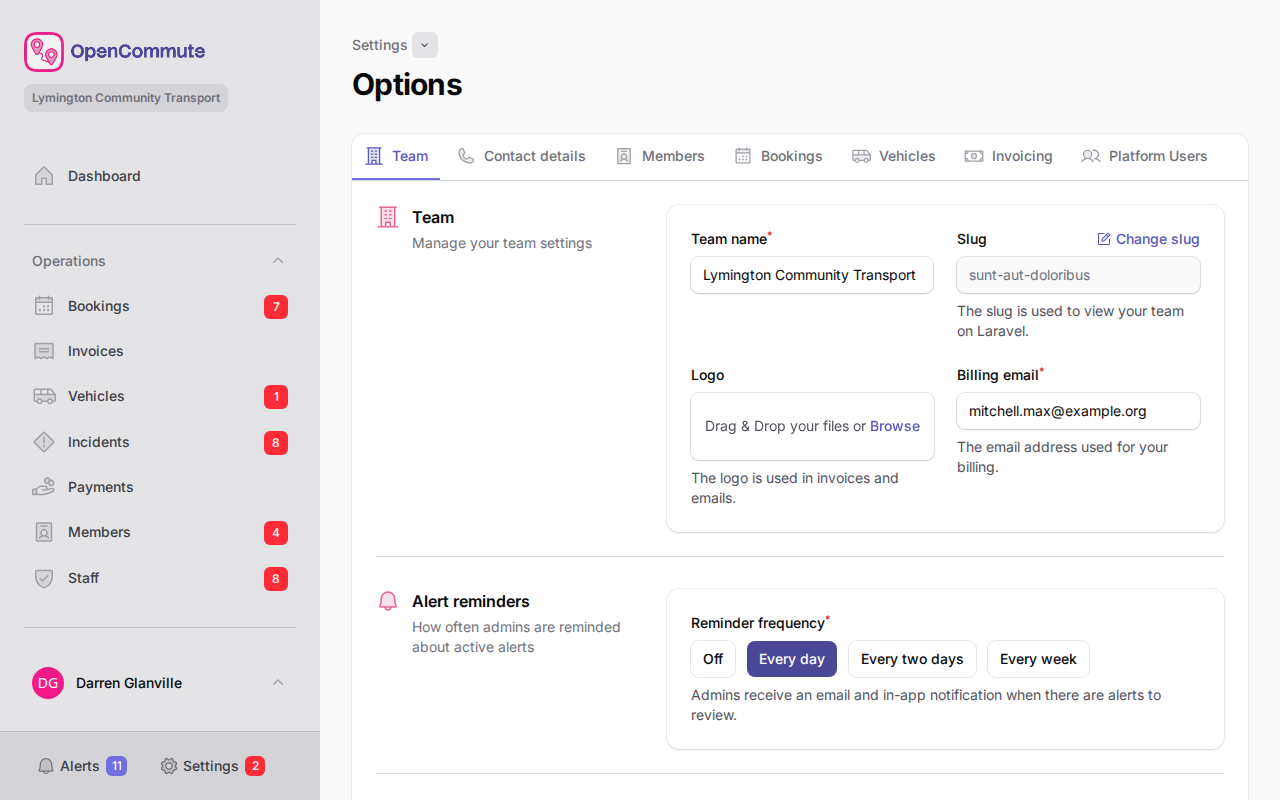 An example of updating your team name, billing email, and logo.
Alert reminders
Choose how often admins are reminded about open alerts:
- In the Team tab, open Alert reminders.
- Set Reminder frequency.
- Click Save settings.
Billing and subscription
If you have billing access, the Team tab also shows your subscription status, usage limits, and links to Manage subscription, Transfer billing contact, and Support tickets for platform help.
Update member settings
Use this tab to control membership subscriptions, training, and staff compliance defaults.
- Open the Members tab.
- In Subscriptions, choose Monthly, Yearly, or both. Prices only shows rates for the intervals you select. Existing subscriptions keep their current interval.
- Turn Training must be complete before assignment? on or off — this controls checklist training linked to member types.
- Under Member types requiring a passed training booking, tick the member types that must pass a training booking before driving sign-off or assignment. This is separate from checklist training; both can apply.
- Set Default training session duration (minutes) — used when suggesting available slots for members who need a training booking. The default is two hours.
- Set DBS validity (months) for suggested staff DBS expiry dates.
- Set First Aid validity (months) for suggested staff First Aid expiry dates. The default is 36 months (3 years).
- Click Save settings.
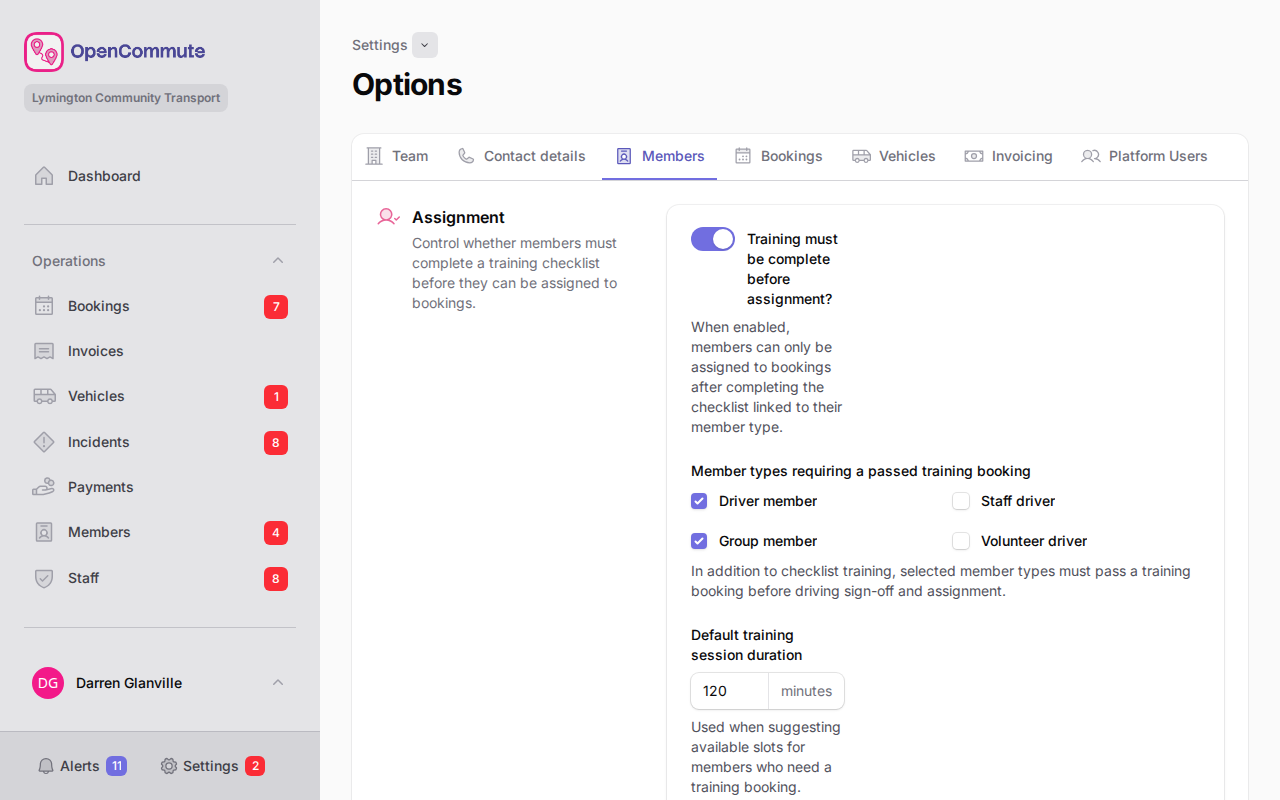 An example of turning on driver training requirements and setting DBS and First Aid validity.
See Managing Checklists and Managing Staff.
Update contact details
Use this tab to update the contact details shown to users.
- Open the Contact details tab.
- Update email, phone, or website in Contact methods.
- Update your address fields in Address.
- Click Save settings.
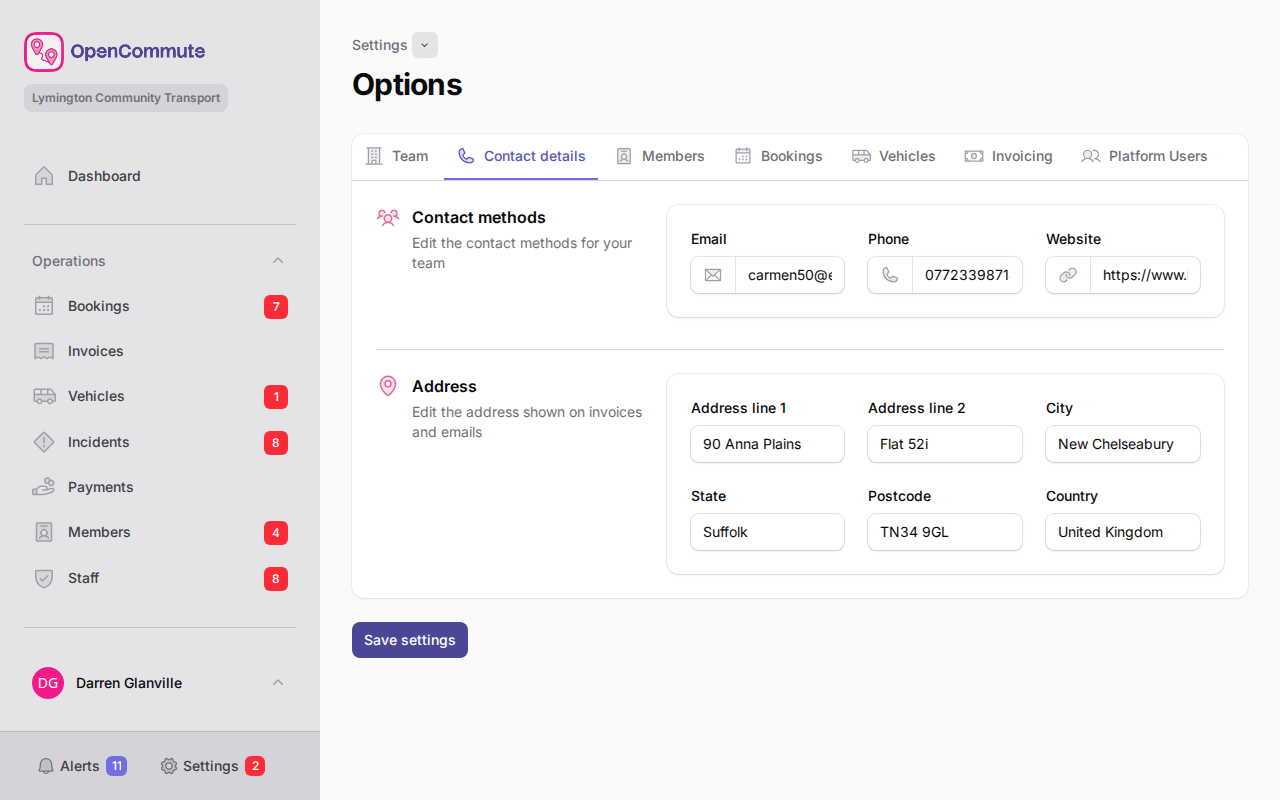 An example of updating contact methods and address details.
Update invoicing defaults
Use this tab to control tax and invoice defaults for new invoices.
- Open the Invoicing tab.
- In Prices, turn Add Tax? on or off as needed.
- If tax is on, update Default Tax Rate and Tax Label.
- In Invoices, update values such as Invoice Prefix, Invoice Start Number, and Invoice Due Days.
- Set Overdue invoice chases to choose how often unpaid overdue invoices are emailed a payment reminder. You can also send a reminder from the overdue alert on an invoice — see Managing Invoices.
- Update Invoice Terms and Invoice Footer if needed.
- Click Save settings.
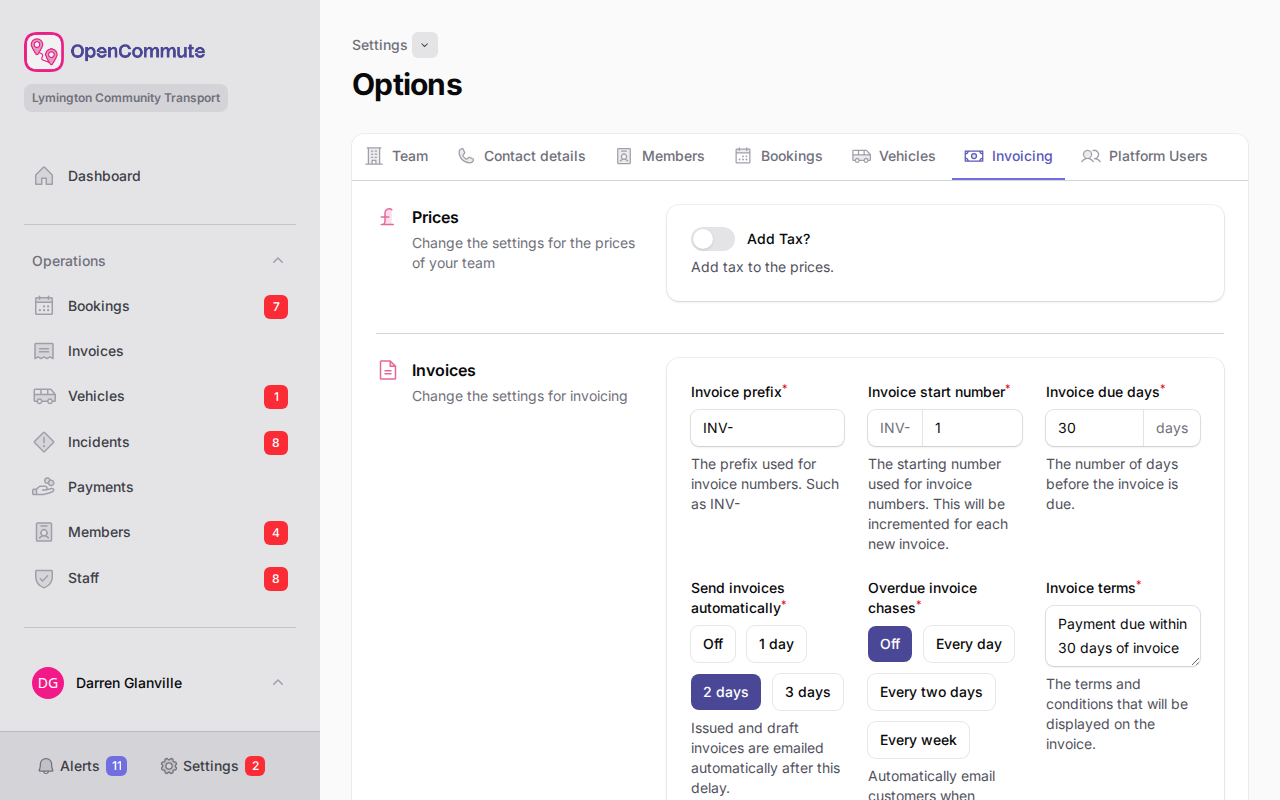 An example of updating invoicing defaults and tax settings.
Tax changes on draft invoices
Changing tax settings updates prices and draft invoices. Existing non-draft invoices are not changed.
Update joining settings
Use this tab to control how external users can request access.
- Open the Platform Users tab.
- Turn Allow external joining? on or off.
- If enabled, check or change The code users need to enter when joining your team.
- To generate a new code, click the refresh icon beside the joining code field and confirm.
- Click Save settings.
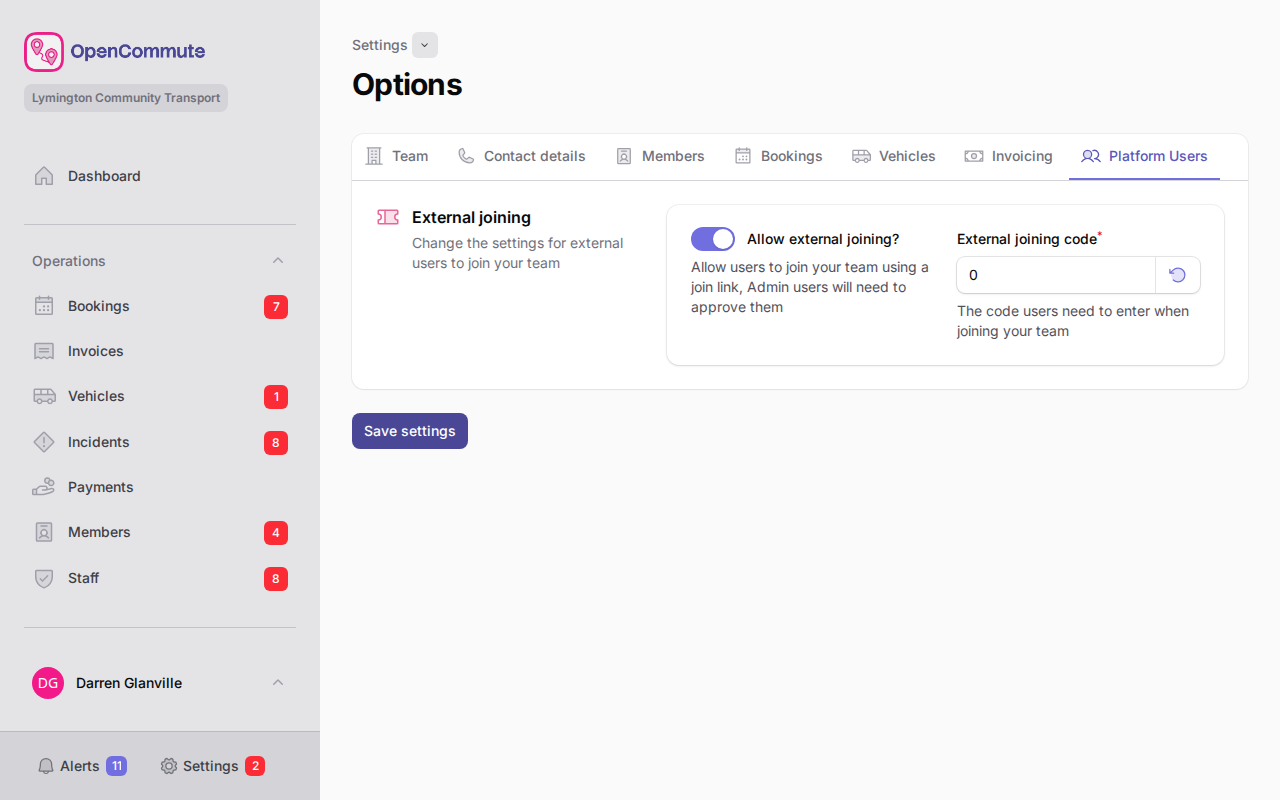 An example of turning on external joining and managing the joining code.
Refreshing code safely
Use the refresh action when you want to invalidate an older joining code and share a new one.
Update vehicle compliance settings
Use this tab to control whether vehicles need valid compliance records before they can be used.
- Open the Vehicles tab.
- Turn Require compliance for vehicles? on or off.
- If it is on, tick the checks you need in Compliance types required.
- In Completion follow-up defaults, set how far ahead each compliance type is due when you create a new record.
- Click Save settings.
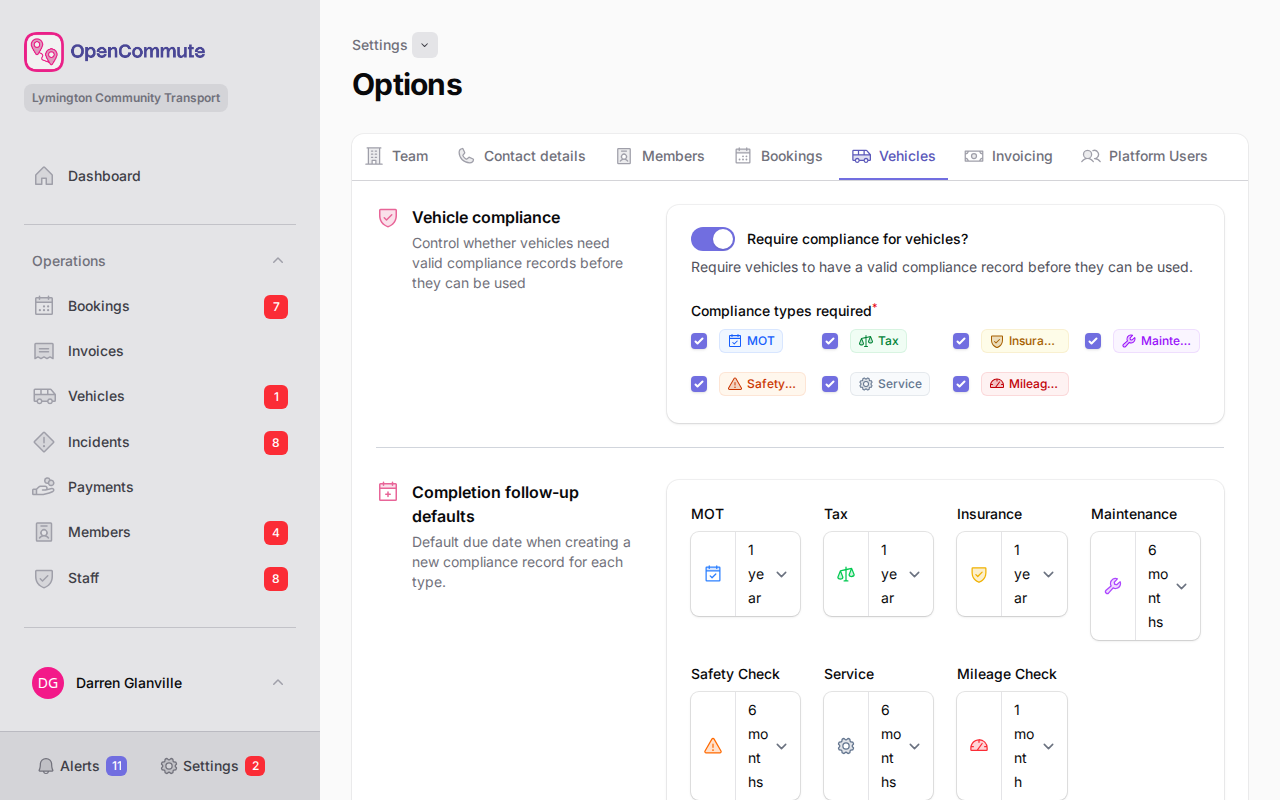 An example of choosing which compliance types are required for vehicles.
For full guidance on adding and managing compliance records, see Vehicle compliance.
Default vehicle home location
Set the team default home location used for mileage-based bookings when a vehicle has no override.
- In the Vehicles tab, open Default vehicle home location.
- Set the address on the map.
- Click Save settings.
Individual vehicles can override this on their Home location tab — see Managing Vehicles.
Set an operational area
Define how far your service runs from the home base. When this is on, adding a member whose home address is outside the area shows a warning. Staff can still create or save the member after ticking a confirmation. That decision is stored on the member record and recorded in their Activity log. See Managing Members.
- In the Vehicles tab, set the Default vehicle home location first.
- Open Operational area.
- Turn Enable operational area on.
- Choose Measure by — miles or drive-time minutes.
- Choose the Limit from home base.
- Check the map preview, then click Save settings.
You cannot enable the operational area until a home base is set.
Larger limits show a circle
Limits of 40 miles or more, or more than 60 minutes, show a simple circle on the map instead of a road-based area. The saved limit still applies when checking whether a member is outside the area.
Update bookings settings
Use this tab to control how the bookings list and calendar open and display.
- Open the Bookings tab.
- In Default bookings page, choose Calendar or List for the page that opens when you go to Bookings in the sidebar.
- In Default calendar view, choose Timeline, Week, or Day for the layout shown when you open the calendar view.
- Set Operating hours start to the earliest time available for internal bookings and shown on the calendar (for example, 08:00).
- Set Operating hours end to the latest time available for internal bookings and shown on the calendar (for example, 20:00).
- Click Save settings.
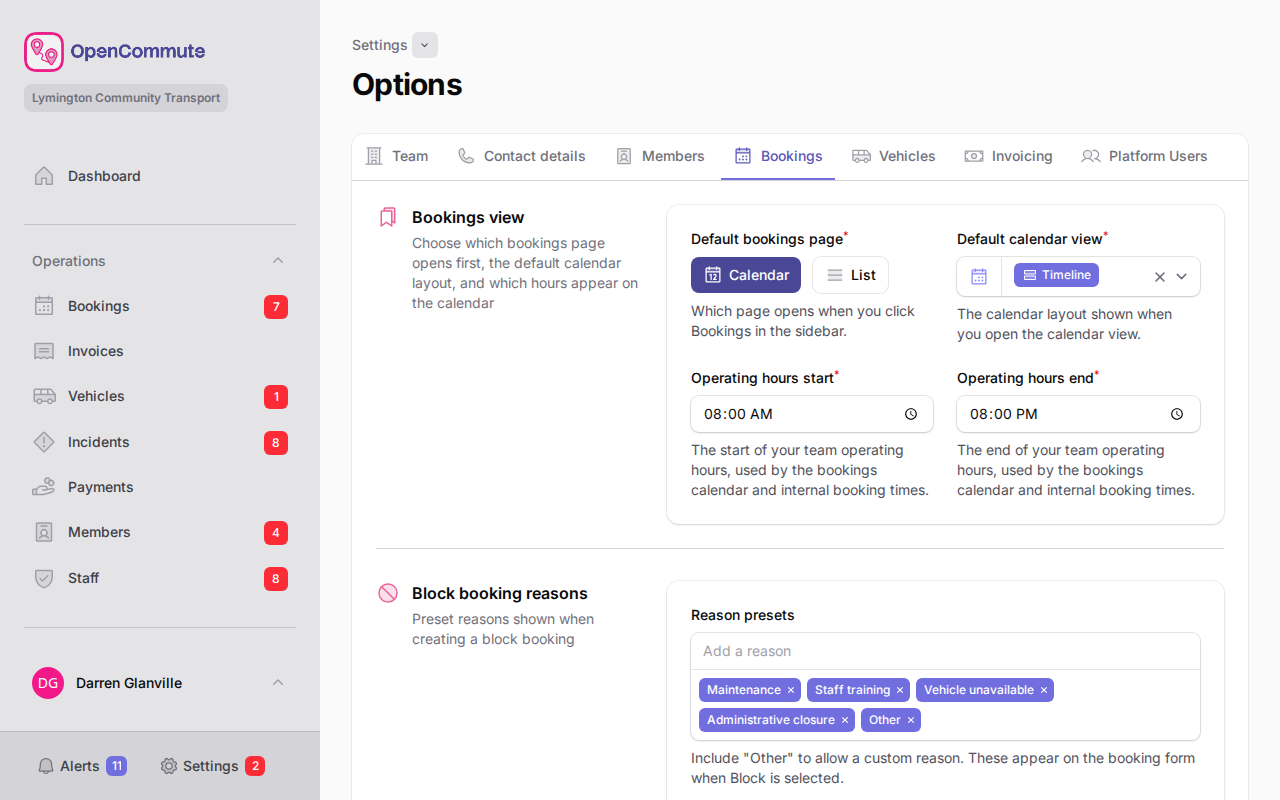 An example of setting default bookings page, calendar view, and operating hours.
Switching views
You can still open the other bookings page at any time using the List view and Calendar view tabs at the top of the bookings area.
Operating hours apply to all time-based calendar views (timeline, week, and day) and limit the start and end time options when creating or editing Internal bookings. See Internal Bookings.
For booking buffer and draft auto-cancel settings on the same tab, see Booking Buffers and the sections below.
Block booking reasons
- In the Bookings tab, open Block booking reasons.
- Add or edit Reason presets — include Other if staff should enter custom reasons sometimes.
- Click Save settings.
See Block Bookings.
Booking type labels
Give each booking type a name that matches how your team talks about journeys. The custom name appears on forms, filters, calendars, tooltips, invoices, and reports.
- In the Bookings tab, open Booking type labels.
- Enter a name for each type you want to rename, or leave a field blank to keep the default (for example Open or One-to-One).
- Click Save settings.
Reference codes such as OPEN and OTO stay the same.
Default booking type
- In the Bookings tab, open Default booking type.
- Choose the type pre-selected on the new booking form.
- Click Save settings.
Open route stop times
- In the Bookings tab, open Open route stop times.
- Set Time at pickup stops and Time at drop-off stops for route duration estimates.
- Click Save settings.
See Open Bookings.
Open booking invoicing
Control when members on chargeable open bookings are invoiced, and what happens if they are removed.
- In the Bookings tab, open Open booking invoicing.
- Set Invoice period — Off, 1 day, 2 days, or 1 week before the journey starts (default 1 week). Off invoices members when they join.
- Click Save settings.
Members are invoiced automatically on that schedule. You can invoice individual members earlier from the booking Members tab if you have invoice permission.
If you remove a member during the invoice period, their invoice stays due and is not refunded. If you remove them before the period starts, unpaid invoices are voided and any payment becomes account credit on the member.
See Open Bookings — Invoicing members.
Open booking payments
Unconfirmed passenger places on open bookings with pre-payment required can be removed automatically before the booking starts.
- In the Bookings tab, open Open booking payments.
- Choose Remove unpaid passenger places — for example 1 day, Off, or another preset.
- Click Save settings.
Draft auto-cancel
Use Draft bookings to cancel unfinished draft bookings automatically before they start. The same window also cancels upcoming One-to-One, Driver Own, and Group bookings whose required subscriber is no longer paid, and removes unsubscribed passengers from Open bookings (voiding early invoices and moving any payment to account credit when that matches a manual remove). If that deadline has already passed, opening the booking applies the same change immediately.
- In the Bookings tab, open Draft bookings.
- Choose Auto-cancel draft bookings — for example 1 day, Off, or another preset.
- Click Save settings.
Auto-cancelled bookings show the reason on the booking notice:
- Unconfirmed drafts — It was not confirmed before the auto-cancel deadline.
- One-to-One and Driver Own — The member is not subscribed.
- Group — The organisation is not subscribed.
Manual cancellations show who cancelled the booking instead. See Managing Bookings.
Advance booking windows
Control how far ahead each booking type can be scheduled.
- In the Bookings tab, open Advance booking windows.
- For each booking type, choose Unlimited or a maximum window (for example 30 days).
- Click Save settings.
New bookings that start beyond the window for their type are rejected. Editing an existing booking does not re-apply this rule.
On the new booking form, a notice shows how far ahead the selected type can be booked. The notice is hidden when the window is Unlimited. Date pickers also block dates beyond the window.
Booking type visibility
Control which booking types are public to members. Admin users can always create every type.
- In the Bookings tab, open Booking type visibility.
- Toggle each type public or private.
- Click Save settings.
Internal and Block default to private. For Open bookings, members can only discover journeys that are public at team level and marked public on the individual booking.
Billing buffer
Set how long after a booking ends it stays editable before locking for invoicing. The default is 2 days. Locking and charging always happen at midnight.
- In the Bookings tab, open Billing buffer.
- Choose the number of days (or None (lock at next midnight)).
- Click Save settings.
Finished bookings stay editable until midnight after the buffer. On the edit page, a notice shows when the booking will be locked and charged. After that midnight, the booking is locked and cannot be edited.