

Appearance
Managing Platform Users
Keep your team access up to date by inviting users, approving join requests, and checking each user's status.
Subscription user limits
The number of users you can add depends on your current subscription. If you reach your user limit, you will need to upgrade your subscription before inviting more users.
Invite users
Use invites when you want to add specific people directly to your team.
- Go to Settings.
- Click Platform Users.
- Click Invite user.
- Enter one or more email addresses in Enter each email address.
- Select a value in Role.
- Click Invite.
Invited users receive an email with a link to accept. See Accepting an Invitation for what they see on the accept page.
Invite multiple users quickly
Invite multiple users at once by separating email addresses with a comma or a space.
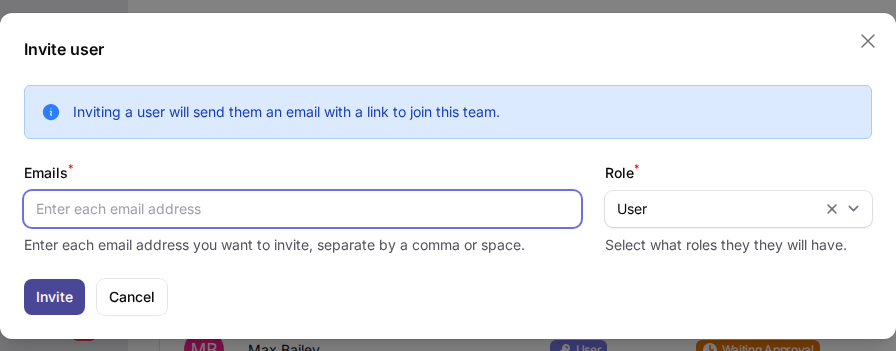 An example of inviting one or more users from the Platform Users page.
Share joining code
Use the joining code when you want people to request access themselves. Users can join your team by using the code and link you share with them.
- Go to Settings.
- Go to Updating Options.
- Go to the Platform Users tab.
- Turn on Allow external joining?.
- Check or update the 8-digit code in The code users need to enter when joining your team.
- Click Save.
After external joining is enabled:
- Go to Settings.
- Click Platform Users.
- Click Show Joining Code.
- Copy and share the code or link from the Joining Code window.
Approval required for join code
Users who join with the code are added as requesters and must be approved by an admin. See Joining a Team for what users experience on the public join page.
Show Joining Code visibility
You only see Show Joining Code on the Platform Users page when Allow external joining? is turned on in Settings > Updating Options > Platform Users.
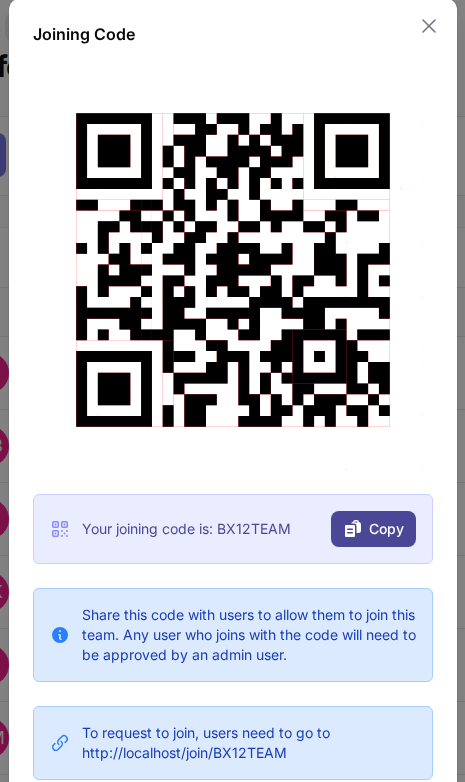 An example of viewing and sharing the joining code.
Approve requests
When someone joins with your code, they appear in the Platform Users list with a pending status.
- Go to Settings.
- Click Platform Users.
- Find users with Waiting Approval in the Status column.
- Click Approve for the user.
- Confirm by clicking Approve in the dialog.
Rejecting removes access
Rejecting a join request removes that user from your team.
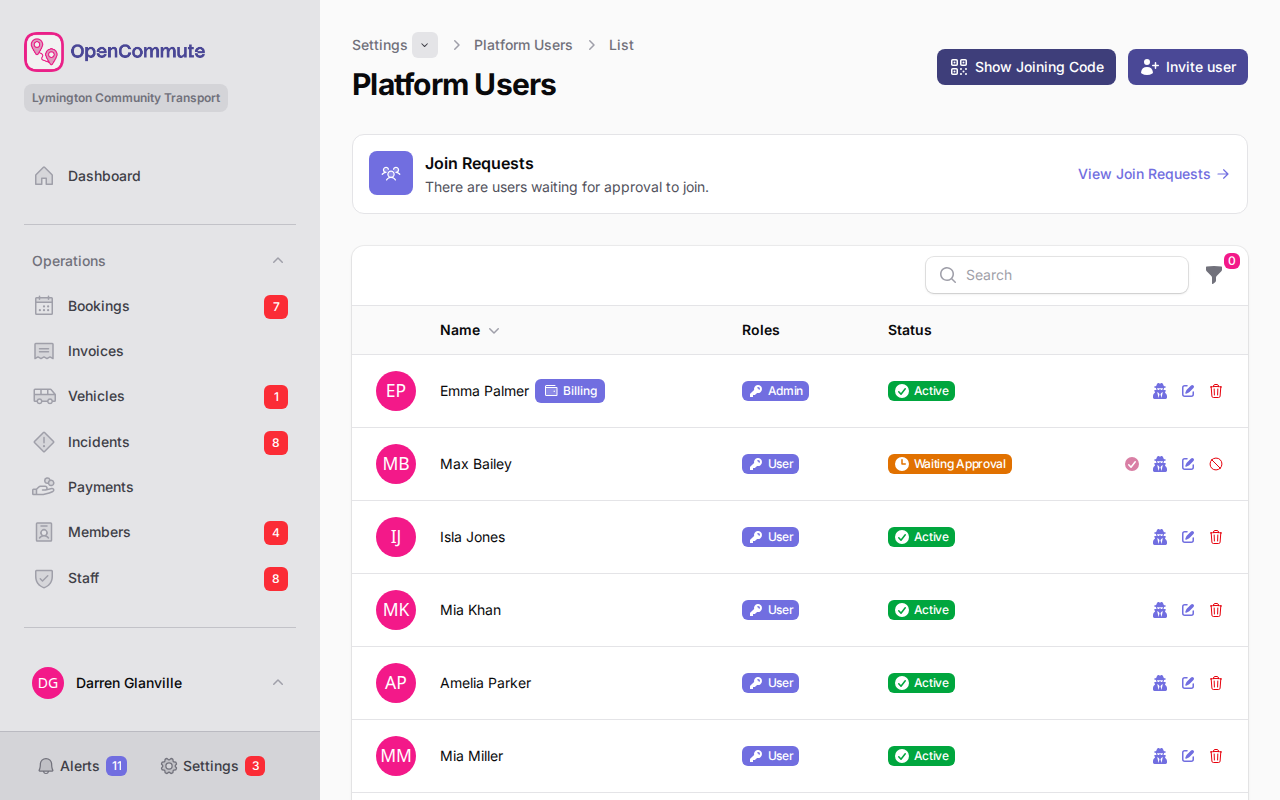 An example of approving a user who requested to join.
User statuses
Use the Status column and filters to understand where each user is in the access process.
These are the statuses available and a small description of each one.
| Status | Description |
|---|---|
| Active | The user can access your team now. |
| Invited | The user has been invited but has not completed access yet. |
| Waiting Approval | The user requested access and is waiting for admin approval. |
| Banned | The user is blocked from accessing your team. |
Billing contact
The billing contact manages your team's subscription and billing settings. They appear with a Billing badge in the Name column.
To transfer billing to another Admin or Manager, see Changing Billing Contact.
Related guides
- Roles and Permissions — default roles and adding extra permissions for a user
- Changing Billing Contact — transfer subscription and billing access
- Updating Options — team settings (Admin access required)
- Joining a Team — public join flow for users with a joining code
- Accepting an Invitation — accept flow for email invites